Showing posts with label cast iron grill pan. Show all posts

Friday, April 24, 2020

Cast Iron Pan Crumpets


By Natalie

Today we are going to take a look at a rustic pantry dish that makes a great snack or breakfast served hot with butter or jam. Homemade crumpets cooked in a cast iron pan are fun and tasty.

Batter Ingredients: 

2 1/4 cup all purpose flour
1 TB dried yeast
1/2 TSP baking soda
1 TSP salt
1 TSP sugar
1 cup warm milk
1 cup warm water
vegetable oil/canola oil to grease the cooking rings.

In a large bowl, mix together all the dry ingredients except the yeast.

In a different bowl mix together the warm milk and water separately from the dry ingredients and add the dry yeast. Be sure to dissolve the yeast.

Add the wet to the dry ingredients.

This will bubble up, mix together in the bowl until fully combined.

Cover bowl with plastic wrap and a tea towel.

Allow to proof for 1 hour at which point the mix is ready to make crumpets with, or if you like, refrigerate until needed and use within a couple of days.

Heat a cast-iron pan on medium high until nice and hot -- not smoking hot but heated enough to cook pancakes.

Lightly grease your pan with veg or canola oil, and grease any baking rings if using. Otherwise drop the raw mixture by the spoonful and smooth out slightly to create a wider but not too thick shape so it will cook evenly. They may  be wonky or cloud shaped, which  is fine. This is part of the charm of a homemade crumpet.

Or you can spoon some of the mix into your cooking rings til about half full. Cook approx 2-3  mins on one side and they should be bubbly on top and ready to flip. Cook 2-3 minutes on the other side.

I couldn't find cooking  rings among my jumble of kitchen things so I just used a mason jar ring, a bit awkward but it does the trick.

I find that opening any thicker crumpets while cooking, down the middle with a fork (butterflying them)  smearing a dab of butter in the pan and cooking them inside helps to expedite the process.

A small stack of crumpets should begin to appear as long as one doesn't eat them all as soon as  they are cooked. Hah!

Eat while hot with butter and/or topped with either sweet or savoury toppings.

Enjoy!


Wednesday, March 18, 2015

Smashed Potatoes and Crosshatched Rib Eyes

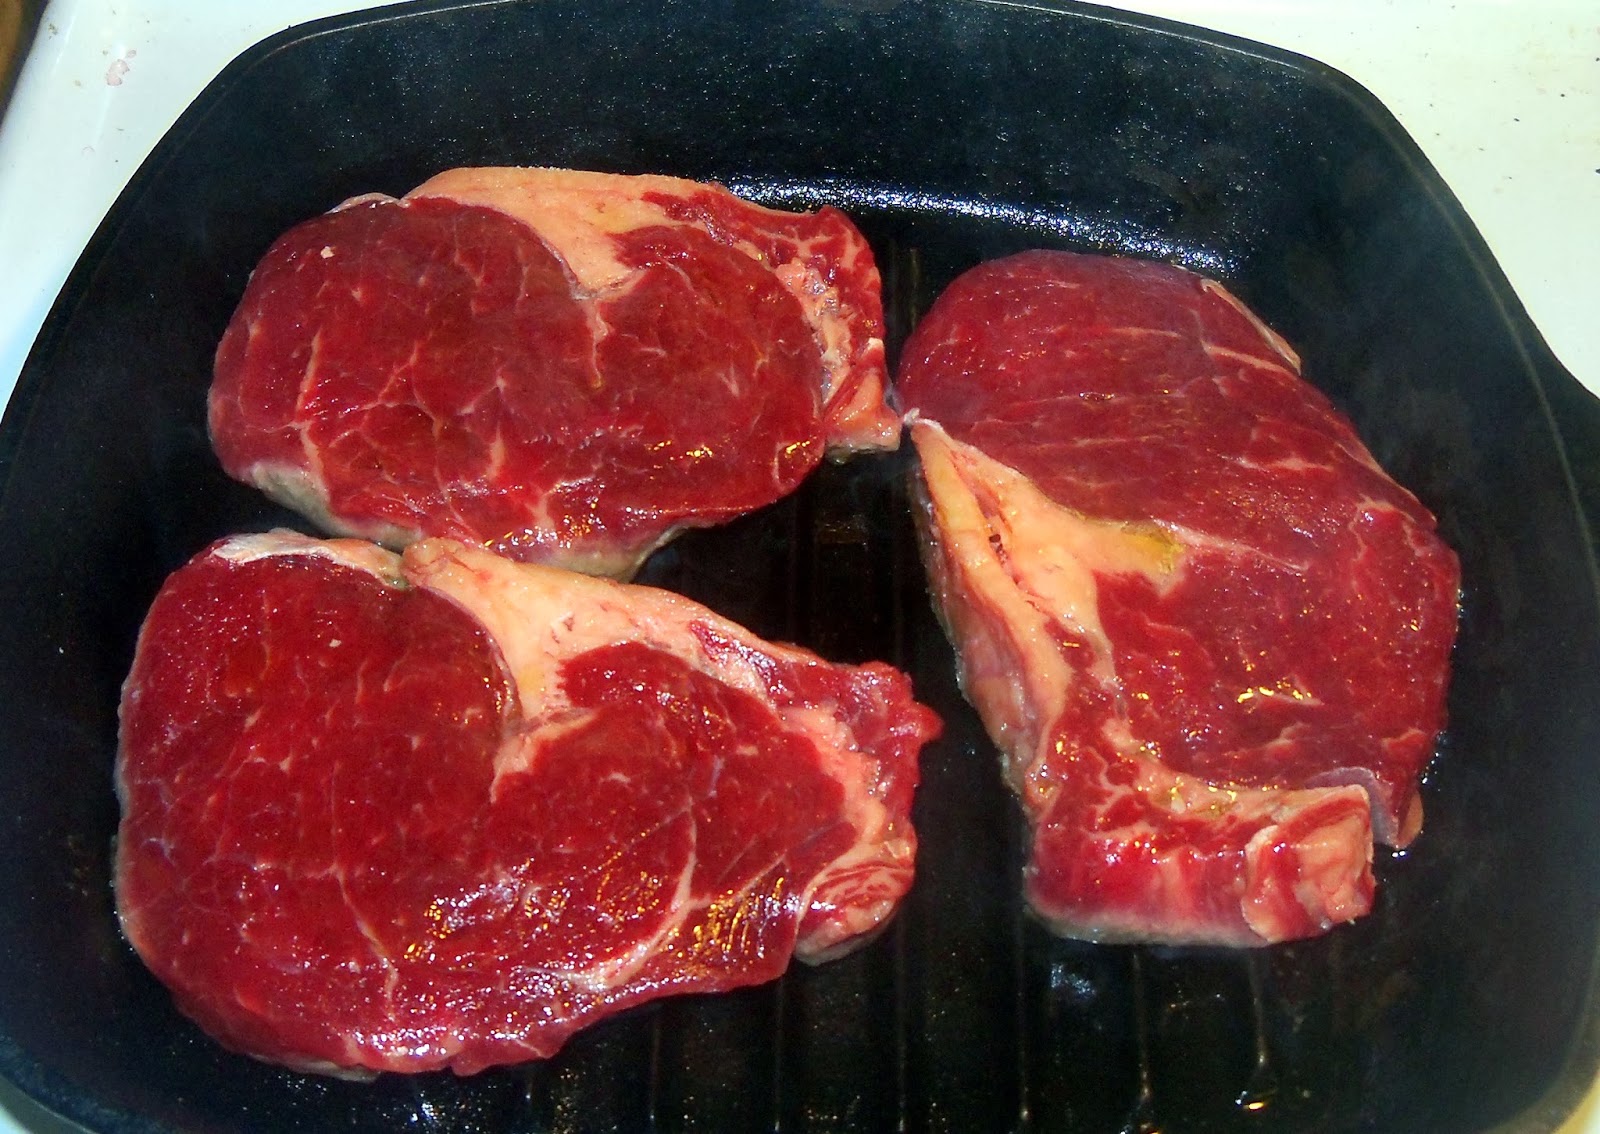
Today we are doing a true "meat and potatoes" recipe with smashed potatoes and crosshatched rib eyes done on a cast iron grill pan.

Crosshatching is a visually and texturally appealing method of cooking a steak that gives it those grill marks that we so like to see at restaurants, while smashed potatoes are a delicious and easy alternative to mashed potatoes.


To start off you want to get the potatoes going. Boil some unpeeled whole potatoes until just fork tender. This generally takes about 10 minutes, though this can vary with size. You want a fork to go in easily but for there still to be some resistance.  While they are boiling, prepare a flat baking tray and drizzle the surface of it with olive oil. Pat dry the potatoes and place on the olive oiled pan.

With a potato masher push down on each potato until it splits open and flattens, making sure not to actually mash it. You want them to look "smashed"!

Then brush each potato liberally with more olive oil,  and cover with salt and pepper to taste (though really, these are better well salted). You can also sprinkle them with other seasonings or herbs. I like to sprinkle French Fry Seasoning on them.

Place the pan on the high rack of an oven preheated to 450 degrees. You want to bake them until golden brown and wonderfully crispy, which takes around 20-25 minutes.

Meanwhile, remove your rib eyes from the fridge, brush both sides with olive oil and coat liberally with salt and pepper. Let them sit at room temperature for 30 minutes.

To make crosshatched steaks on the stove top you need a ribbed cast iron grill pan. These are well worth investing in as they cook great steaks, pork or lamb chops, etc. The ribbing is the key to this. As years go by, if properly maintained and cleaned (no soap!) these become more seasoned as well. 


Heat the pan on medium-high heat (mark 6 or so) until thoroughly preheated. You want the steaks to really sizzle when they hit the pan.


Put the steaks on the grill pan in one direction. I cook steaks rare to rare medium. The steaks I was doing were around 3/4 of an inch thick. Cook them around 2 minutes, and then flip and do two minutes more. Then, flip again, rotating the steaks 90 degrees this time. Do them a further minute, flip again and fry another minute more, and remove to a platter. Let them sit 2-4 minutes before serving.


 If you like them more medium or medium well, or if they are a different size, then you will have to adjust times accordingly. Cooking steaks the way you want them every time takes practice, but ultimately the best and most universal method of telling when they are done is by their "give".


This meat and potatoes pairing is delicious, easy and a real crowd pleaser. Perfect with red wine and lemon wedges for the steak.

Enjoy!