Showing posts with label Montreal Steak Spice. Show all posts

Wednesday, July 10, 2019

Charcoal Grilled Steaks w. Garlic Butter

Today we are going to take a look at a method of charcoal grilling steaks where the grill grate is placed right on top of the charcoal. It is then topped with garlic butter at the end of grilling for exceptionally tender meat.

This method is similar to one known as "dirty" grilling steaks where quite thick cuts are placed on the charcoal with no grill for a somewhat longer cooking time. This was apparently a favourite of President Eisenhower, but don't let that deter you. At any rate, while I like that approach I find this method works better for cuts of around an inch to an inch and a half thickness and also avoids what can sometimes be an overly ashy flavour if you either don't heat the coals enough or heat them for too long.

Either way, this method is most suited for chunk charcoal as opposed to briquettes.

To start you want to use classic BBQ steak cuts like T-bone, rib eye or striploin/New York strip for this. About 45 minutes to half an hour before grilling take the steaks out to season. I generally use Montreal or Chicago style steak spice, but sea salt or garlic salt and freshly ground black pepper always works as well. After seasoning both sides drizzle some olive oil over them and let stand at room temperature until cooking.

Prepare you charcoal BBQ as usual but once your coals are ready place your grill right on top of the coals as opposed to on the rungs elevated above them. You may have to use more charcoal than usual or keep it clustered in a mound at the center to do this if you have a rounded or Weber style BBQ.

Place your grill right on top of the charcoal
Put your steaks on the grill right above the charcoal and cook to your desired doneness,  though really you want steaks rare, rare-medium or medium-rare now don't you?

I cook a lot of steak and can tell when it is done to my liking by timing and touch, but if you are learning here is a pretty good introduction to the various methods. In time and with practice you will find your preferred way.


(Remember if you are nervous about such things you can always use Health Canada's guidelines which recommends cooking to 145 degrees F. and medium-rare).

When the steaks are around 2 or 3 minutes away from being done, place a large dab of garlic butter on top of each one as it finishes cooking. You can buy garlic butter at most grocery stores but it is also very easy to make by whipping together a half cup of softened, room temperature salted butter with 2 or 3 finely minced cloves of garlic. If you want to kick it up a bit add some finely minced fresh jalapeno.

The garlic butter will melt into your steaks making them extra moist and adding layers of buttery garlic flavour. Terrific stuff.


As always let your steaks stand after cooking 3 to 5 minutes before serving.

Serve with your favourite red wine and enjoy.

See also: BBQ Corn in the Husk with Lime and Chili Pepper Flakes

See also: Lamb & Chicken BBQ Burgers

Sunday, January 1, 2017

Sugar For My Honey, Muskoka Brewery, Frenched Pork Roast & more -- The Top 5 Food Posts of 2016!

A few days ago we posted the Top Ten Blog Posts of 2016 on The Left Chapter. As any regular reader of this blog knows, The Left Chapter also has many food related posts.

There have been posts about Stove-top Caribbean Style Braised Oxtail, 11 year old Julia's Quick & Tasty Peanut Butter CookiesSpicy Red Cabbage and Sesame12-Hour Slow Cooked Caribbean-Style OxtailQuick Pickled Jalapenos and CarrotsWest African Peanut Chicken and many, many more!

We also looked at some favourite restaurants and vintage cookbooks.

I want to thank everyone who contributed recipes to the blog and to our readership for such a great year and I look forward to what 2017 brings.

Here, without further ado, are the top five food related posts for 2016:

1) Sugar For My Honey - An Exceptional Austrian/German Bistro-Cafe in South Etobicoke

2) The beers of Muskoka Brewery -- Canada's first 'living wage' brewery

3) Frenched Pork Rack Roast with Montreal Steak Spice.

4) BBQed Rainbow Trout with Herbs-de-Provence & Garlic Butter

5) Sauteed Garlic Pepper Steak with Provencal Mushrooms and Onions

Thanks again for a great second year.

Do you have a left point-of-view or opinion, a recipe or a story you want to share?

Send them to The Left Chapter via theleftchapter@outlook.com!

See also: Black Lives Matter, Right Sector, Canadian Labour & more -- 2016 on The Left Chapter in review

See also: Caribbean Goat, Michael's West Indian, Ukrainian Cookery & more -- The Top 5 Food Posts of 2015!

Sunday, January 17, 2016

Frenched Pork Rack Roast with Montreal Steak Spice.

Today we are going to look at a very flavourful and relatively easy way to make a "frenched" pork roast.

A frenched pork roast is like the Prime Rib of pork. It is fatty, bone-in and, properly prepared, very moist and truly delicious. Plus, once carved everyone gets their own, perfectly cooked bone-in pork chop!


There are many seasoning blends that can be used on a pork roast. Salt, pepper and minced garlic with some olive oil works nicely. But I find that Montreal Steak Spice seasoning (as made by Club House among others) works perfectly.

First, take out your roast and season liberally on top (the fatty side is the top -- as with a Prime Rib the bone side is the bottom and you stand the roast on the bones) with the Montreal Steak Spice. Let stand, seasoned, at room temperature for 30 minutes. For the cooking times in this recipe we used a roast in the 3-4 lb. range.


When ready, put the roast onto an aluminum foil lined  roasting pan and place in the middle of an oven preheated to 400 degrees.

Roast at 400 for 1 hour. After an hour lower heat to 325 and roast for around another 30 minutes or until the roast reads around 150 degrees on a meat thermometer. Remember, the roast will rise by 10-15 degrees when left to rest after cooking.

When the roast is ready, remove from oven and let rest at room temperature for `15 minutes.


Carve the roast by slicing it in between each bone so that a lush bone-in chop portion is created. While terrific on its own I like to serve with a Dijon-mayonnaise sauce on the side. I make this by mixing two parts mayonnaise with one part Dijon. I like to also add a few dashes of hot sauce like Tabasco or Cholula.


This pairs well with any number of sides, like mashed potatoes, salad or rice and goes nicely with either white or red wine.

Enjoy.

See also:   Diner Style Breaded Pork Chops in Gravy

See also: Standing Prime Rib Roast done two ways: On the BBQ or in the oven with mushroom gravy

Sunday, April 19, 2015

Montreal Steak Spice Salmon Fillets

Today we are going to look at a really easy and really tasty way to make a salmon fillet in the oven or on the BBQ.

For this you want to get a boneless fillet with the skin still on one side.

Place the fillets on a plate and season liberally with Montreal style steak spice (you can use any steak spice of your choosing, of course, but I find that this one works best with salmon). Place a lemon slice on the thickest part of the fillet and let the seasoned fillet sit out at room temperature for 15 minutes.

We are going to cook the fillet using the "Canadian method" popularized by James Beard.

Preheat your oven to a very hot 450-500 degrees. Place the salmon skin side down on a baking tray grill or on a foil lined baking tray and put the tray on the middle oven rack.

Cook the fillet, lemon slice on top and without turning, 10 minutes for every inch of thickness at the fillet's thickest part. This method I find produces the best results and, done properly, ensures the salmon is not dry. It is really important not to overcook salmon -- although it is overcooked, sadly, all too often.

Take out and let stand 3 minutes before serving. You will usually have to separate the fillet from the skin (this is easy with a spatula).

If doing on the BBQ cook the same way but watch for flare ups (especially if charcoal BBQing...which you should be!). You will want to cook with the top on for a good portion of the cook time over very hot coals.

The steak spice encrusted salmon is simply delicious.

Serve with a nice salad or rice, some extra lemon wedges and a white wine or a hearty red wine that you would have with steak.

Enjoy!

Saturday, April 18, 2015

A beginner's guide to charcoal grilling a steak...with Schwartz's Montreal Steak Spice & Grilled Salami

Today, as we head into BBQ season, we will be taking a look at the basic technique of charcoal BBQing steak...an actually rather easy treat for special events that many find very intimidating. We will also be looking at the very impressive results one can get by tossing salami, summer sausage, pepperoni or meats of this type on the grill.

There is always a debate between charcoal and propane or gas barbequing . Many, rather mistakenly in my opinion, see charcoal barbequing as somehow "difficult" or very time consuming, which, as we will demonstrate here, is simply not true.

Flavour wise, however, there is no real debate. Charcoal barbequed food tastes better. Period. It gets a smoky taste that is not achievable with standard propane barbequing.


For this post we are going to set up the barbeque and grill some seasoned Rib Eyes and T-Bones.

I am using a Weber standard style BBQ. Webers are great BBQs. Very well made and quite inexpensive. A basic Weber model will run $120-150 (and only the worst propane BBqs are available for so low a price) and will last for years. The one that I own, which is a more "deluxe" model, with a side table and some other "extras" is more than that, but I got mine for $50 at a yard sale. To show how long and how quality an investment a Weber is, I had my first grill for over 8 years (and I gave it away, so it may still be going strong) and this "used" one I have had for 5 years.

A Charcoal Chimney!
The most common complaint people have is that they find charcoal hard to get burning. But with a simple and very cheap ($10-20) accessory (that is actually sometimes included with a new Weber), the Charcoal Chimney, it is really easy and quick to get it started. In addition it requires absolutely no stater fluid,  thereby avoiding that awful taste that can be imparted to the food we all remember and have encountered when charcoal is over-drenched in fluid by an inexperienced BBQer.

You place the chimney in the bottom of the BBQ, removing the grill rack itself of course, pour the charcoal in the top and stuff old newspaper underneath (the sections for this are separated). You lite the newspaper on fire and the flames will get the charcoal burning. This takes at most 5-10 minutes. When the charcoal is good and red hot, you simply use the handles to turn the chimney over and dump out the charcoal. It is that simple.

Within a few minutes of emptying the chimney, you are ready to go.

For this BBQ I used "chunk" charcoal. I prefer this to briquets for doing steak, as chunk charcoal burns very hot, very fast. (As we will relate in future posts, briquets are better for BBQing for a long time, as when doing a whole chicken or roast).

When cooking steak on the BBQ, I like to wait for the charcoal to be red hot. This technique will sear in the flavour and juiciness , and gives the steak a great texture.

I seasoned the steaks with Schwartz's Montreal Steak Spice from the famous deli in Montreal. They have a whole array of seasoning blends that you can buy at the deli or order online. They are all excellent. The steak spice is a terrific blend of salty and spicy (though very mildly so). If this is unavailable Club House Montreal Steak Spice is quite good, or season simply with salt and pepper or whatever else you like.

No matter what you are seasoning the steaks with, you should let them sit at room temperature for about half-an-hour after seasoning and prior to grilling.

I cook my steaks rare, though many people prefer steaks medium rare. A steak one inch thick will require only a very short cooking period once the charcoal is red hot. Half inch grocery store cuts even less. I do about two-three minutes a side, then turn the steaks 90 degrees on the grill and do them another minute a side to create those visually appealing cross-hatch grill marks.  (This is entirely optional).

The way to tell if your steak is how you like it depends on the "give". Never cut open or puncture a steak to gauge its "doneness". This will allow the juices out, which really hurts the steak. The more give there is on the steak when gently pressed with a spatula or tongs, the rarer it is. A lot of springiness means it is rare. A little more resistance and it is medium rare. Once the springiness or give is gone or almost gone, you are heading into medium and well done territory.

If this is your thing, fine. But it really does turn a delicious steak into shoe leather.


It is always worth noting that if you really think it is underdone for your taste after all is said and done, you can always toss it back on the grill. When you have overcooked a steak, there is no way to "undo" it. So err on the side of flavour and rare!


After the steaks are done, take them off and let them sit for a minimum of two minutes on a flat platter/plate, prior to serving. This is essential to maintaining juiciness.

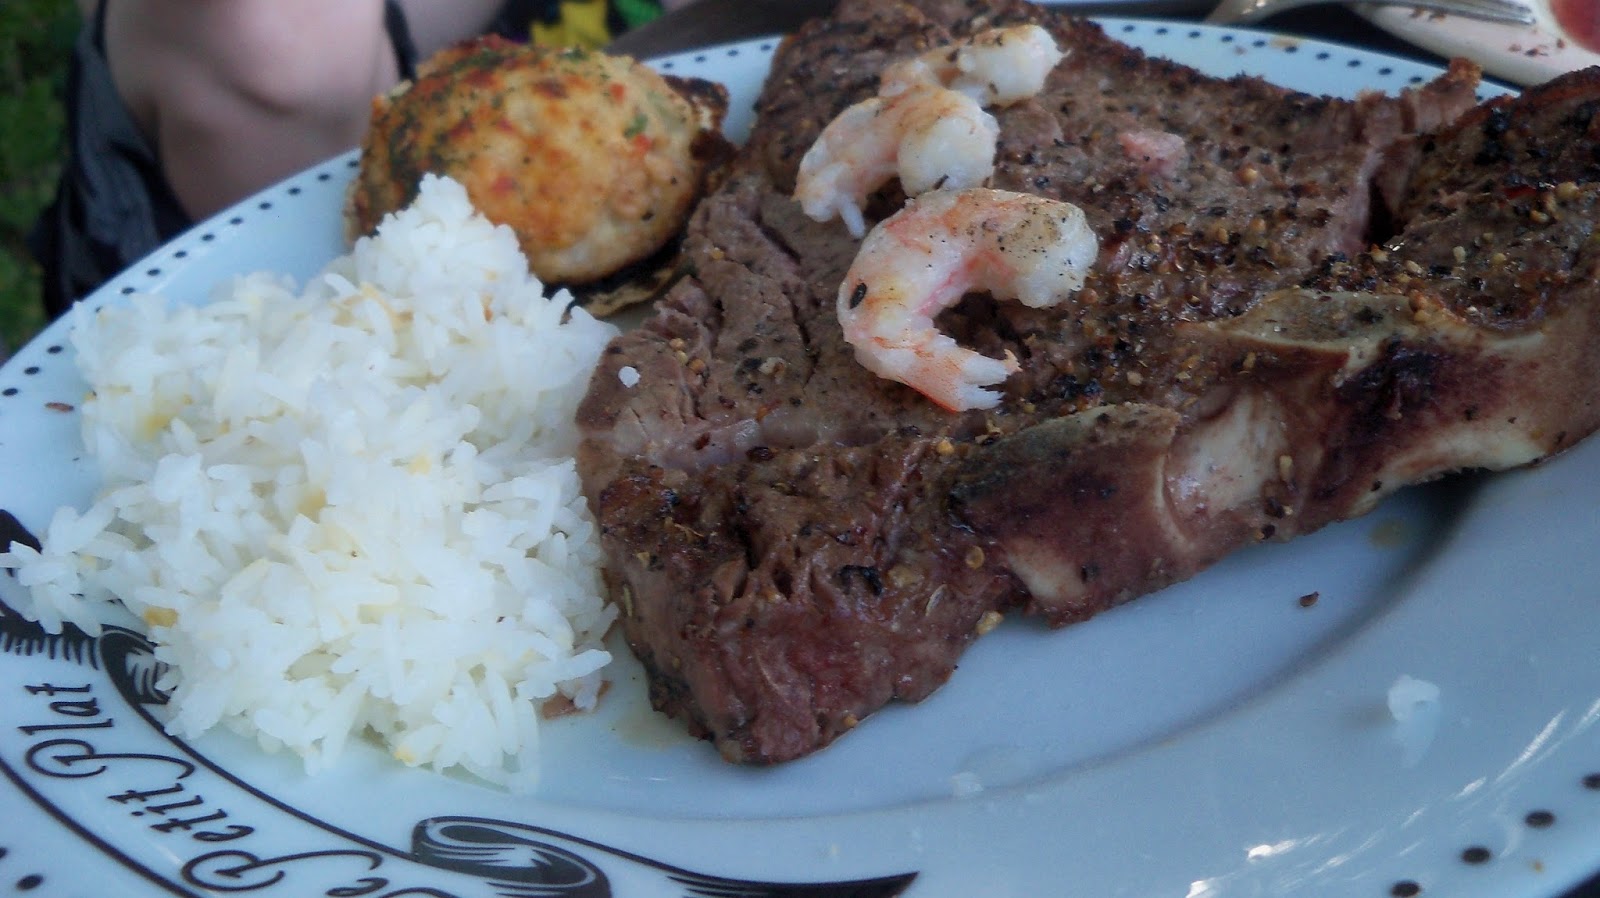
For an extra treat...top a steak with some grilled shrimp!

Following these easy steps, especially with a little practice, will produce excellent BBQed steak every time. For this type of grilling, with no marinade, I suggest the fattier cuts of meat, like Rib Eye or T-Bone. I find a nice marbled cut of meat, with white lines of fat throughout, produces the best BBQ results.


As a side holiday idea that is a real crowd pleasing delight (kids love it), try BBQing pepperoni or salami "logs".

For this take a large size salami, summer sausage, or pepperoni (or other large size cured meat) of your choosing (and there are, of course, some very high end ones,  though for this blog we used a medium priced spicy salami and a dirt cheap No Name pepperoni. The kids will go crazy for the No Name brand grilled...trust me!)

Let sit out at room temperature for about a half hour. Cut the meat in half down the middle.

Place both sides on the grill a bit off to the side so the heat of the charcoal is a bit more indirect. You do not want the meat to burn as it will if you put it right above the center of the charcoal. Grill the meat for about 8 minutes a side or until your desired texture/crunch. Remember, these meats are already cooked, so the length on the grill is about creating a flavour, not cooking!

Slice into smaller pieces and serve.

This is an easy and really delicious treat. It entirely changes the texture of the meat, giving it a "crunch" that it is very satisfying, reduces its fattiness and adds new levels of smokiness. Your guests or family will love it.